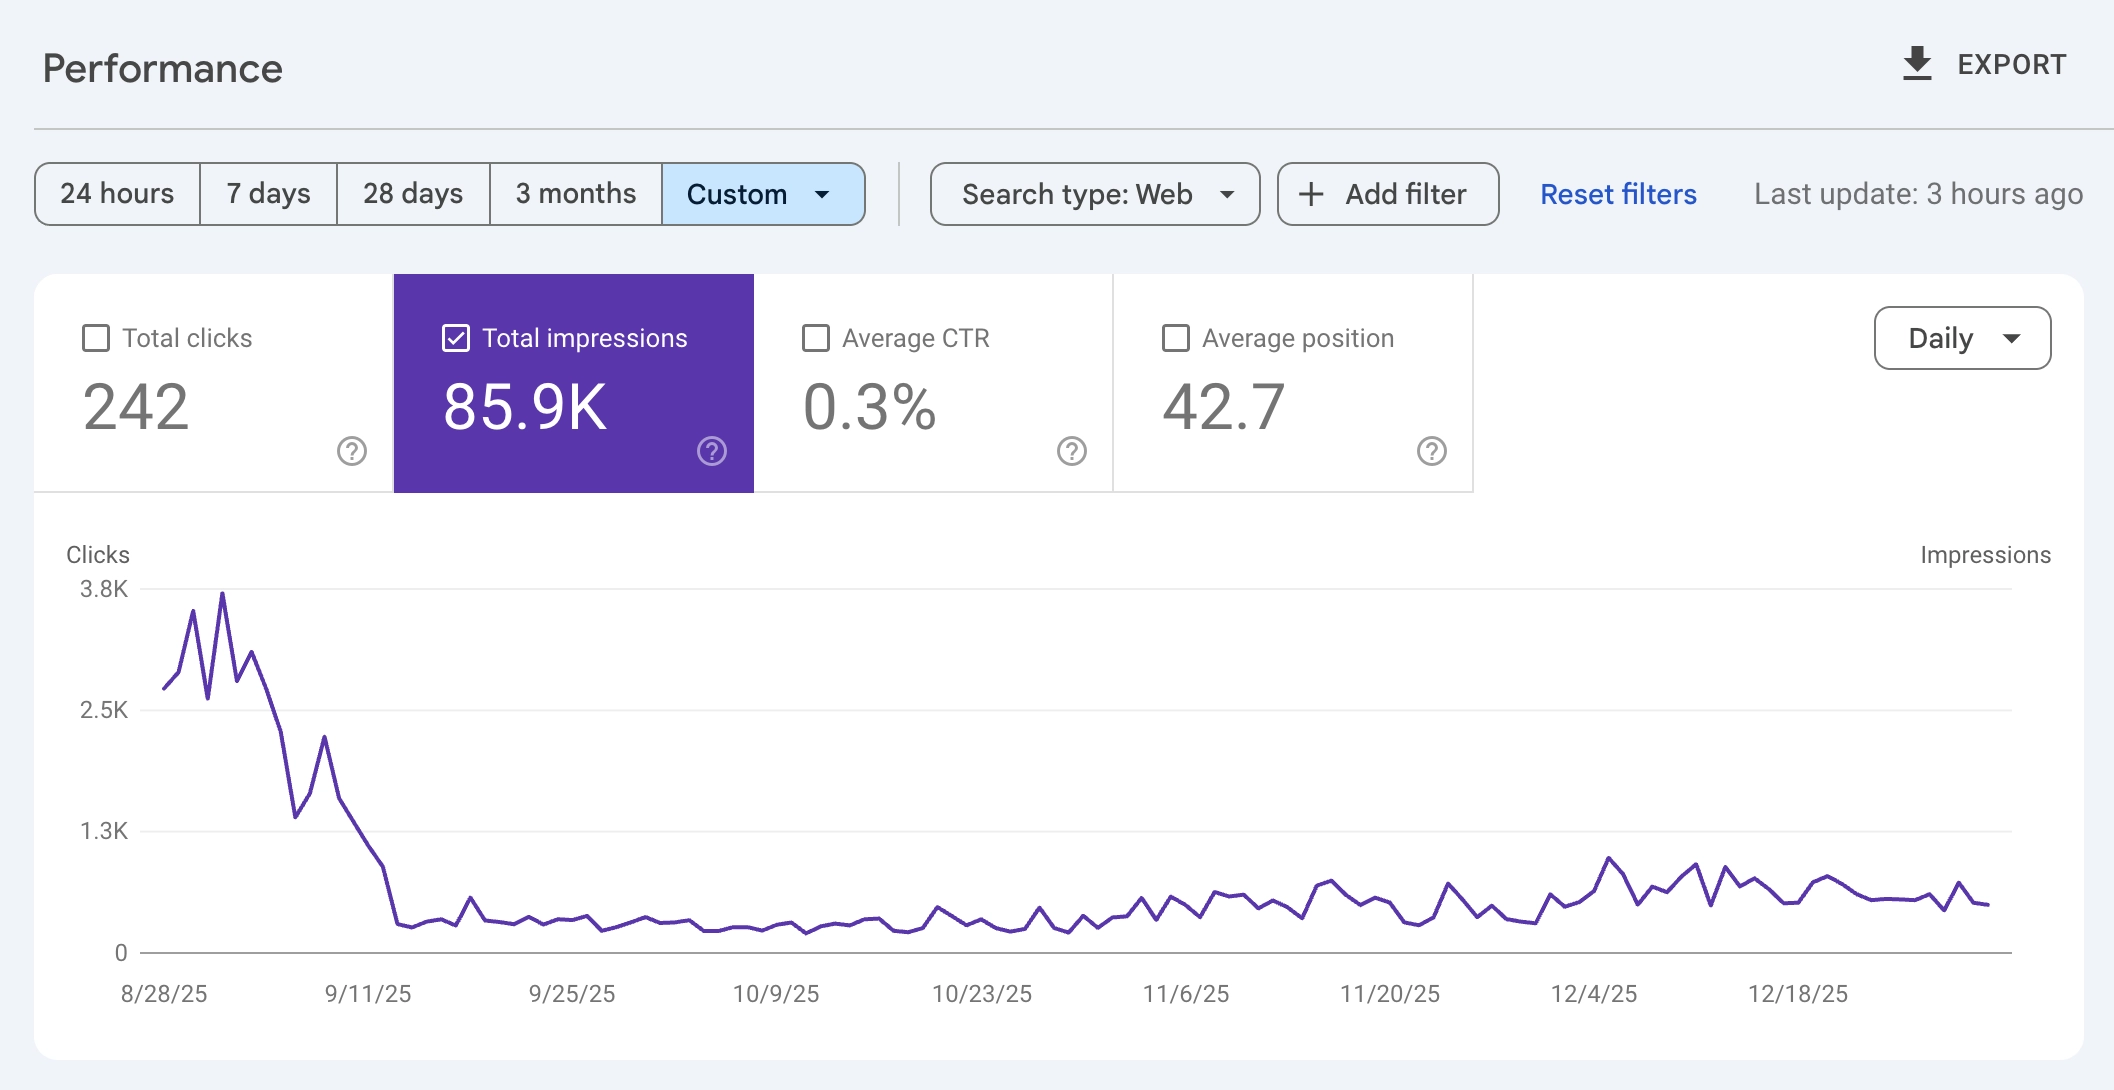
Imagine losing half your organic traffic because of one broken redirect. It happens.
You're about to migrate your website. New domain, new CMS, new URL structure. You've planned for months. Then you flip the switch, and your traffic drops by half. Sound dramatic? I've seen it happen more times than I'd like to admit.
Site migrations are among the highest-risk SEO projects you'll ever undertake. When they go well, nobody notices. When they go wrong, the damage can take months or years to recover from. I've worked with companies that lost seven figures in revenue because someone forgot to implement redirects for their top 50 pages.
The frustrating part? Most migration failures are preventable. They happen because teams skip steps, rush timelines, or don't know what they don't know. A website redesign seems like a development project, but it's fundamentally an SEO project with development components.
In this guide, you'll get a complete SEO site migration checklist covering every phase: planning, execution, and post-launch verification. This isn't theory. It's the framework I've used on dozens of migrations, from small business rebrands to enterprise platform changes with millions of URLs.
A successful migration isn't about checking boxes. It's about understanding what can go wrong and preventing it.
What Is an SEO Site Migration?
An SEO site migration is any significant change to your website that affects how search engines crawl, index, or rank your pages. This includes more than just moving to a new domain.
Types of Site Migrations
| Migration Type | What Changes | SEO Risk Level |
|---|---|---|
| Domain change | example.com → newbrand.com | Very High |
| Protocol change | HTTP → HTTPS | Medium |
| URL structure change | /blog/post-title → /articles/post-title | High |
| Platform/CMS change | WordPress → Shopify, custom → headless | High |
| Site redesign | New templates, navigation, content structure | Medium-High |
| Content consolidation | Merging multiple sites into one | Very High |
| Subdomain changes | blog.example.com → example.com/blog | High |
Every migration type carries SEO risk because you're changing signals that Google has associated with your rankings. URLs, internal links, page content, site structure, and technical configuration all play roles in how Google evaluates your site.
Why Migrations Are Risky
Google doesn't transfer ranking signals automatically. When you change a URL, Google sees it as a new page. You need to explicitly tell Google (via 301 redirects) that the old URL has permanently moved to a new location.
What can go wrong:
- Missing redirects cause 404 errors, losing all ranking signals for those pages
- Redirect chains (old → intermediate → new) dilute link equity
- Changed content causes Google to re-evaluate relevance
- Broken internal links reduce crawl efficiency
- Removed pages without redirects lose accumulated backlinks
- Technical issues (slow server, blocked robots.txt) prevent proper crawling
The goal of any migration is to transfer as much SEO equity as possible from the old site to the new one. Perfect transfers are rare, but well-executed migrations typically see minimal long-term impact after a brief adjustment period.
Phase 1: Pre-Migration Planning and Audit
The success of your migration is determined before you change a single URL. Thorough preparation is the difference between a smooth transition and a traffic disaster.
Step 1: Crawl and Document Your Current Site
Before changing anything, capture a complete snapshot of your existing site.
What to document:
| Data Point | Tool | Why It Matters |
|---|---|---|
| All URLs | Screaming Frog, Sitebulb | You can't redirect what you don't know exists |
| Page titles and meta descriptions | Crawler export | Ensure these transfer to new pages |
| Internal link structure | Crawler visualization | Preserve site architecture |
| Backlink profile | Ahrefs, Moz, Semrush | Identify pages with valuable external links |
| Organic traffic by page | Google Analytics, Search Console | Prioritize high-traffic pages |
| Current rankings | Rank tracker, Search Console | Benchmark to measure post-migration impact |
| Structured data | Schema validator | Ensure markup transfers correctly |
Create a master URL inventory with all this data in a spreadsheet. This becomes your source of truth throughout the migration.
Step 2: Identify High-Priority Pages
Not all pages are equal. Some carry most of your SEO value and deserve extra attention.
High-priority pages include:
- Pages with the most organic traffic (top 20% typically drive 80% of traffic)
- Pages with the most backlinks (check external link counts)
- Pages ranking for high-value keywords
- Revenue-generating pages (product pages, pricing, sign-up flows)
- Pages with featured snippets or other SERP features
Mark these in your URL inventory. These pages get extra verification at every stage.
Step 3: Content Mapping for the New Site
Decide what happens to every page during migration. This is your content mapping exercise.
For each URL, determine:
| Current Page Status | Action | Redirect Strategy |
|---|---|---|
| Keeping with same content | 1:1 redirect to new URL | 301 from old to new |
| Keeping with updated content | 1:1 redirect, update content | 301 from old to new |
| Merging with another page | Many:1 redirect | 301 from all old URLs to single new URL |
| Removing permanently | No redirect or 410 | 410 Gone (if truly obsolete) or 301 to relevant alternative |
| Removing but has backlinks | Redirect to closest relevant page | 301 to topically related content |
Content consolidation considerations:
If you're merging multiple pages into one, ensure the new page is comprehensive enough to serve all the intents of the original pages. Don't redirect a product page to your homepage just because you're discontinuing the product. Find the most relevant alternative.
For guidance on which pages to keep versus remove, see our guide on content pruning vs. publishing.
Step 4: Technical Audit of Current Site
Before migrating, identify and fix existing technical issues. Don't carry problems to your new site.
Check for:
- Existing 404 errors (fix before migration)
- Redirect chains already in place (clean these up)
- Duplicate content issues (resolve canonicalization)
- Robots.txt restrictions (document intentional blocks)
- Page speed issues (address if new platform doesn't fix them)
- Mobile usability problems
Fix what you can before migration. The cleaner your starting point, the easier it is to identify migration-caused issues later.
Step 5: Set Benchmarks
You need data to measure migration success. Capture baselines before you start.
Record these metrics:
- Total indexed pages (Search Console > Pages)
- Organic sessions by landing page (Google Analytics)
- Keyword rankings for priority terms (rank tracker)
- Core Web Vitals scores (PageSpeed Insights)
- Crawl stats (Search Console > Settings > Crawl stats)
- Backlink counts for key pages
Export this data with timestamps. You'll compare against it for months after migration.
Phase 2: URL Mapping and Redirect Plan
Your redirect map is the most critical migration document. Every old URL needs a defined destination.
Building the Redirect Map
Create a spreadsheet with these columns:
| Column | Purpose |
|---|---|
| Old URL | The current URL that will cease to exist |
| New URL | Where traffic should go after migration |
| HTTP Status | 301 (permanent), 410 (gone), or keep (no change) |
| Priority | High/Medium/Low based on traffic and links |
| Notes | Special handling instructions |
Redirect map example:
| Old URL | New URL | Status | Priority |
|---|---|---|---|
| /blog/seo-tips-2024 | /guides/seo-best-practices | 301 | High |
| /products/widget-a | /shop/widgets/model-a | 301 | High |
| /about/old-team-page | /company/team | 301 | Medium |
| /promo/expired-sale | (none) | 410 | Low |
| /blog/duplicate-post | /blog/original-post | 301 | Medium |
Redirect Rules to Follow
1. Use 301 redirects (permanent)
301 redirects tell search engines the move is permanent and to transfer ranking signals. Avoid 302 (temporary) redirects for migrations.
2. Redirect to the most relevant page
Don't redirect everything to your homepage. If a product page is removed, redirect to the category page or a similar product. Google may ignore redirects that seem irrelevant.
3. Avoid redirect chains
A redirect chain is: Old URL → Intermediate URL → Final URL
Chains slow down crawling and can lose link equity at each hop. Always redirect directly to the final destination.
Bad:
/old-page → /temp-page → /new-page
Good:
/old-page → /new-page
If you have existing redirect chains from previous migrations, clean them up during this migration.
4. Handle parameters and variations
Consider all URL variations that might exist:
- With and without trailing slashes (
/pagevs/page/) - With and without www (
www.site.comvssite.com) - HTTP and HTTPS versions
- URLs with tracking parameters (
?utm_source=...) - Case variations (
/Pagevs/page)
Your redirect rules should handle all variations consistently.
5. Don't redirect to redirects
Ensure your new URLs don't themselves redirect somewhere else. The destination should be the final canonical URL.
Implementing Redirects
Redirects can be implemented at different levels:
| Method | Best For | Pros | Cons |
|---|---|---|---|
| Server config (Apache .htaccess, Nginx) | Large-scale, pattern-based | Fast, efficient | Requires server access |
| CMS/Platform redirects | Platform migrations | Easy to manage | May have limits |
| CDN-level (Cloudflare, etc.) | Quick implementation | No origin changes needed | Can add latency |
| JavaScript redirects | Never | (none) | Not SEO-friendly |
Never use JavaScript redirects for SEO purposes. Search engines may not follow them, and they're slower for users.
For Apache servers, our free .htaccess Redirect Builder generates properly formatted 301 redirect rules from your URL mapping spreadsheet.
Redirect Testing Before Launch
Before going live, test your redirects on a staging environment:
- Import your redirect map into a testing tool
- Verify each old URL returns a 301 status
- Confirm the destination URL is correct
- Check for redirect chains (should be single-hop)
- Test edge cases (parameters, trailing slashes)
Tools like Screaming Frog can bulk-test redirect lists against your staging server.
Phase 3: Technical Preparation
With your redirect map ready, prepare the technical infrastructure for launch.
Staging Environment Setup
Build and test your new site on a staging server before touching production.
Staging checklist:
- All pages render correctly
- Internal links point to new URL structure
- Navigation works and is crawlable
- Forms and interactive elements function
- Page speed is acceptable
- Mobile experience is good
- Structured data is implemented
- Analytics tracking code is in place (but filtered in reporting)
Robots.txt Preparation
Critical warning: Staging sites typically block crawlers with robots.txt or noindex tags. You MUST remove these blocks before launching.
Before launch, verify:
- Robots.txt allows Googlebot access to all important sections
- No leftover noindex meta tags from staging
- No X-Robots-Tag headers blocking indexing
I've seen migrations fail because developers forgot to update robots.txt on launch day. The entire site stayed blocked for weeks.
XML Sitemap Updates
Prepare new sitemaps reflecting your post-migration URL structure.
Sitemap requirements:
- Include all URLs you want indexed (new structure)
- Remove any URLs that no longer exist
- Ensure sitemap is accessible at standard locations (/sitemap.xml)
- Consider creating a sitemap with old-to-new URL mappings (helps Google discover redirects faster)
Our free XML Sitemap Builder can crawl your staging site or accept a URL list to generate a properly formatted sitemap for the new structure.
Don't submit the new sitemap until after launch.
Search Console Preparation
Set up Search Console for your new property before migration:
For domain changes:
- Verify ownership of the new domain in Search Console
- Prepare to use the "Change of Address" tool immediately after launch
- Keep the old property active (you'll need it for monitoring)
For URL structure changes (same domain):
- No new property needed
- Prepare updated sitemap for submission
Analytics Configuration
Ensure tracking continues seamlessly after migration.
Google Analytics 4 checklist:
- Tracking code installed on all new pages
- Goals/conversions configured
- Filters set up correctly (exclude internal traffic)
- Cross-domain tracking if needed (for domain migrations)
- Annotations prepared to mark migration date
Create an annotation on migration day so future analysis clearly shows the transition point.
Server and Hosting Preparation
Your server must handle increased crawl activity post-migration.
Verify:
- Server can handle traffic spike from redirects + new crawling
- SSL certificates are valid and properly configured (for HTTPS)
- CDN is configured for new URL structure
- Caching rules work correctly
- Error pages (404, 500) are configured
If migrating hosts, keep the old server running redirects for at least 6-12 months.
Phase 4: Launch Day Execution
Migration day is about careful execution and immediate verification. Have your checklist ready.
Pre-Launch Final Checks (Morning of Launch)
Before flipping the switch:
- Redirect rules are loaded and ready to activate
- New robots.txt is prepared (allowing crawling)
- New sitemap is ready to submit
- Monitoring dashboards are open (Analytics, Search Console, uptime)
- Team is available for immediate troubleshooting
- Rollback plan is documented (how to revert if catastrophic failure)
Launch Sequence
Execute in this order:
Step 1: Activate redirects
Deploy all 301 redirects. The old URLs should now redirect to new URLs.
Step 2: Verify redirects (spot check)
Manually test 10-20 high-priority URLs:
- Do they redirect correctly?
- Is the status code 301 (not 302)?
- Does the destination page load?
Step 3: Deploy new robots.txt
Replace staging robots.txt with production version. Verify Google can access the site.
Step 4: Submit new sitemap
In Search Console, submit your updated XML sitemap.
Step 5: Use Change of Address (domain changes only)
If changing domains, immediately submit the Change of Address request in Search Console:
1. Go to old property in Search Console
2. Settings > Change of Address
3. Select new property
4. Submit
Step 6: Request indexing for priority pages
Use URL Inspection to request indexing for your top 5-10 most important pages. This kicks off Google's re-crawling.
Launch Day Monitoring
Watch these metrics throughout launch day:
| Metric | Where to Check | Warning Sign |
|---|---|---|
| Site uptime | Uptime monitor | Any downtime |
| Server errors | Server logs | 5xx error spikes |
| 404 errors | Real-time Analytics, logs | Unexpected 404s |
| Redirect function | Manual testing | Broken or wrong redirects |
| Indexing requests | Search Console | Errors in URL Inspection |
Immediate Post-Launch (First 24-48 Hours)
Hour 1-4:
- Monitor for server issues
- Check for broken redirects in analytics (404 pages report)
- Verify Google is crawling (check server logs for Googlebot)
Hour 4-24:
- Review Search Console for any crawl errors
- Check that priority pages are being re-crawled
- Monitor organic traffic patterns (some drop is normal)
Hour 24-48:
- Deeper analysis of crawl stats
- Check for any indexing issues in Search Console
- Address any 404s from missed redirects
Phase 5: Post-Migration Verification and Monitoring
The migration isn't done when the site goes live. The next weeks and months are critical for catching and fixing issues.
Week 1: Intensive Monitoring
Daily checks:
| Check | What to Look For |
|---|---|
| Search Console > Pages | New errors, changes in indexed count |
| Search Console > Crawl stats | Crawl rate changes, errors |
| Google Analytics > Acquisition | Organic traffic trends |
| 404 reports | URLs people are hitting that don't exist |
| Ranking tracker | Position changes for priority keywords |
Common Week 1 issues:
- Spike in 404s: Missed redirects. Find the URLs and add redirects immediately.
- Drop in indexed pages: Could be normal re-processing, or could indicate blocking issue. Verify robots.txt.
- Crawl rate dropped: Server might be slow or returning errors. Check server logs.
Week 2-4: Stabilization
By week 2-4, Google should have processed most redirects.
What to verify:
- Old URLs show as "Page with redirect" in Search Console (not 404)
- New URLs are appearing as "Indexed"
- Organic traffic is stabilizing (may still be below pre-migration, but trending up)
- Priority keywords are ranking on new URLs
If rankings haven't transferred:
- Check that the redirect is working (old URL → new URL with 301)
- Verify the new page has similar content to the old
- Check that internal links point to the new URL (not the old)
- Verify backlinks are being followed through redirects
Month 2-3: Performance Assessment
Compare current metrics to pre-migration benchmarks.
Healthy migration indicators:
- Organic traffic within 90% of pre-migration levels
- Priority keywords ranking within 2-3 positions of previous
- No persistent crawl errors
- Indexed page count appropriate for new site structure
Concerning signs:
- Traffic still significantly down after 8 weeks
- Key pages not indexed or ranking
- Ongoing crawl errors
- Backlinks not passing through redirects
If you're still seeing issues after 2-3 months, deeper investigation is needed. Check for:
- Redirect implementation issues (chains, loops)
- Content changes that affected relevance
- Technical issues with new site (speed, mobile)
- Lost backlinks (outreach may be needed)
Ongoing Maintenance
Some migration tasks continue indefinitely.
Keep redirects active permanently
Old URLs may still receive traffic from bookmarks, old links, and cached pages. Keep redirects running.
Monitor for new 404s
Set up alerts for 404 errors. New ones may indicate:
- Links from external sites you didn't know about
- Internal links you missed
- Users with cached/bookmarked pages
Update external links where possible
Contact high-value referring sites and ask them to update links to your new URLs. This isn't strictly necessary (redirects work), but direct links are cleaner.
Archive migration documentation
Keep your redirect map, URL inventory, and migration timeline documented. You may need to reference them months or years later.
Common SEO Migration Mistakes (And How to Avoid Them)
Learn from others' failures.
Mistake 1: Incomplete Redirect Coverage
What happens: Some old URLs aren't redirected. They return 404s, and all SEO value is lost.
How to avoid: Crawl your old site completely. Check server logs for URLs that might not be in your sitemap. Test redirects for every URL in your inventory.
Mistake 2: Redirect Chains and Loops
What happens: Old URL redirects to another redirect, creating chains. Or worse, redirects loop (A → B → A), causing errors.
How to avoid: Always redirect to the final destination. After implementation, run a crawler to detect chains and loops.
Mistake 3: Changing Content During Migration
What happens: The new site has significantly different content. Google re-evaluates relevance and rankings drop.
How to avoid: Migrate first, optimize later. Keep content as similar as possible initially. Make content improvements after migration stabilizes.
Mistake 4: Forgetting Internal Links
What happens: Internal links still point to old URLs, creating redirect chains internally and confusing Google about site structure.
How to avoid: Update all internal links to use new URLs directly. Don't rely on redirects for internal navigation.
Mistake 5: Blocking Crawlers Post-Launch
What happens: Robots.txt or noindex tags from staging aren't removed. Google can't crawl the new site.
How to avoid: Have a dedicated verification step for robots.txt and noindex tags before and after launch.
Mistake 6: Not Having a Rollback Plan
What happens: Something goes catastrophically wrong and there's no quick way to revert.
How to avoid: Document exactly how to restore the old site if needed. Keep old hosting active during transition.
Mistake 7: Rushing the Timeline
What happens: Migration is rushed due to business pressure. Steps are skipped, testing is incomplete, issues multiply.
How to avoid: Build buffer time into the schedule. It's better to delay a migration than to execute it poorly.
Essential Tools for Site Migration
The right tools make migration manageable.
Crawling and Auditing
| Tool | Use Case | Free/Paid |
|---|---|---|
| Screaming Frog | Crawl sites, test redirects, export URLs | Free (500 URLs), Paid |
| Sitebulb | Visual site audits, internal link analysis | Paid |
| Google Search Console | Index coverage, crawl stats, URL inspection | Free |
Redirect Testing
| Tool | Use Case |
|---|---|
| Bulk HTTP Status Checker | Check status codes and redirect chains for multiple URLs |
| httpstatus.io | Bulk check HTTP status codes |
| Redirect checker extensions | Browser-based redirect verification |
| curl/wget | Command-line redirect testing |
Monitoring
| Tool | Use Case |
|---|---|
| Google Analytics 4 | Traffic monitoring, user behavior |
| Rank tracking tools | Keyword position monitoring |
| Uptime monitors | Server availability alerts |
| Log analyzers | Googlebot activity tracking |
Documentation
| Tool | Use Case |
|---|---|
| Google Sheets / Excel | Redirect maps, URL inventories |
| Project management tools | Task tracking, team coordination |
| Annotation features | Mark migration dates in analytics |
Frequently Asked Questions
What is SEO site migration?
SEO site migration is any major change to a website that affects how search engines crawl and index it. This includes domain changes, URL restructuring, CMS platform changes, HTTPS migrations, and major redesigns. The goal is to transfer existing search rankings and traffic to the new site structure with minimal loss.
How long does SEO recovery take after a migration?
A well-executed migration typically shows stabilization within 2-4 weeks, with full recovery in 2-3 months. Poorly executed migrations can take 6-12 months to recover, and some ranking losses may be permanent if critical errors occurred.
Should I change my URL structure during a migration?
Only if necessary. Every URL change requires a redirect and carries some risk. If you must change URL structure, do it as part of the migration rather than in a separate project. Two migrations are riskier than one.
Do I need to notify Google about a migration?
For domain changes, yes. Use Search Console's Change of Address tool. For other migration types (URL structure, HTTPS), properly implemented 301 redirects and updated sitemaps are sufficient notification.
How long should I keep redirects active?
Permanently, if possible. Old URLs may receive traffic from bookmarks, cached pages, and external links for years. There's no downside to keeping redirects active, and removing them can cause 404 errors.
Can I migrate and redesign at the same time?
You can, but it increases complexity and risk. If something goes wrong, it's harder to diagnose whether the issue was caused by the migration or the redesign. If possible, migrate first, then redesign (or vice versa) with time between to stabilize.
What's the difference between 301 and 302 redirects?
301 is permanent, 302 is temporary. For migrations, always use 301. It tells search engines to transfer ranking signals to the new URL. 302 redirects don't pass SEO value effectively and signal that the change is temporary.
My traffic dropped after migration. How do I diagnose the cause?
Start with Search Console: check for crawl errors, indexing issues, and manual actions. Verify redirects are working correctly. Compare page content between old and new. Check Core Web Vitals on the new site. If you notice pages stuck in indexing limbo, see our guides on discovered not indexed or crawled not indexed.
Quick Reference: SEO Site Migration Checklist
Use this condensed checklist to track progress.
Pre-Migration
- Full site crawl completed and URL inventory created
- High-priority pages identified (traffic, backlinks, rankings)
- Content mapping completed (keep, merge, remove decisions)
- Redirect map created with old URL → new URL mappings
- Technical audit of current site completed
- Benchmarks recorded (traffic, rankings, indexed pages)
- New Search Console property verified (for domain changes)
Technical Preparation
- Staging site built and tested
- Internal links updated to new URL structure
- Redirects implemented and tested
- New robots.txt prepared (allowing crawling)
- New XML sitemap created
- Analytics tracking configured
- Server/hosting ready for increased traffic
Launch Day
- Redirects activated
- Redirects verified (spot check)
- Production robots.txt deployed
- Sitemap submitted to Search Console
- Change of Address submitted (domain changes)
- Priority pages submitted for indexing
- Monitoring dashboards active
Post-Migration
- Week 1: Daily monitoring for errors
- Week 2-4: Traffic and ranking stabilization check
- Month 2-3: Performance comparison to benchmarks
- Ongoing: 404 monitoring, external link outreach
Your Migration Doesn't Have to Be a Disaster
Site migrations are stressful. There's no getting around that. But they don't have to be catastrophic.
The difference between a smooth migration and a traffic disaster comes down to preparation. Teams that crawl thoroughly, map every URL, test redirects before launch, and monitor aggressively afterward almost always come out fine. Teams that rush, skip steps, or assume everything will work rarely do.
Here's your action plan:
- Start with a complete crawl of your current site. You can't migrate what you don't know exists.
- Build a comprehensive redirect map with every old URL mapped to its new destination.
- Test everything on staging before touching production.
- Monitor intensively for the first two weeks after launch.
- Keep documentation so you can diagnose any issues that arise.
A migration is temporary pain for long-term gain. New platforms, cleaner URLs, better user experience. Just don't let the transition destroy what you've built.
The best migration is one nobody notices happened. Plan accordingly.